Submit New Test Information
Instructions
- Log in to MySAS Portal.
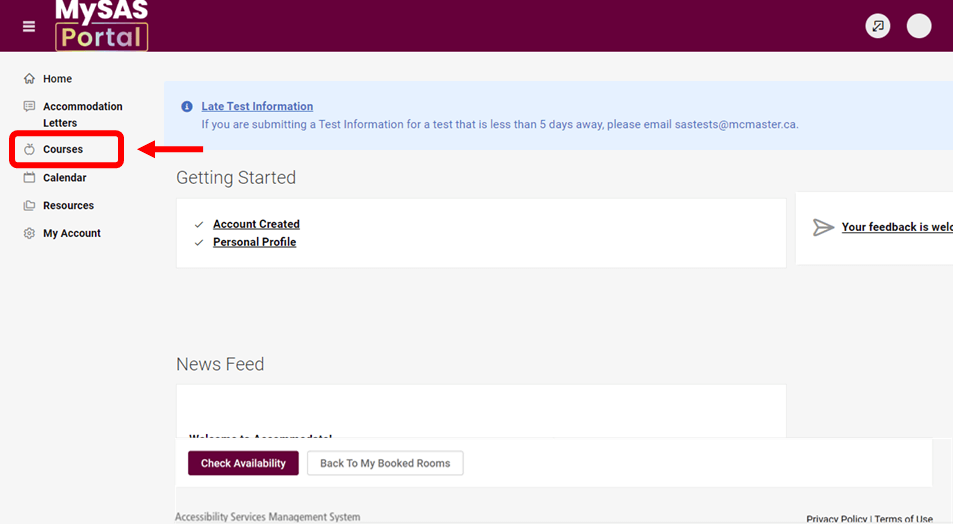
- Click “Courses” in the menu on the left.
- Search for your course under “Course Catalog.” There are two ways to do this:
- Use keywords or filter by term.
- Scroll down to find a specific course.
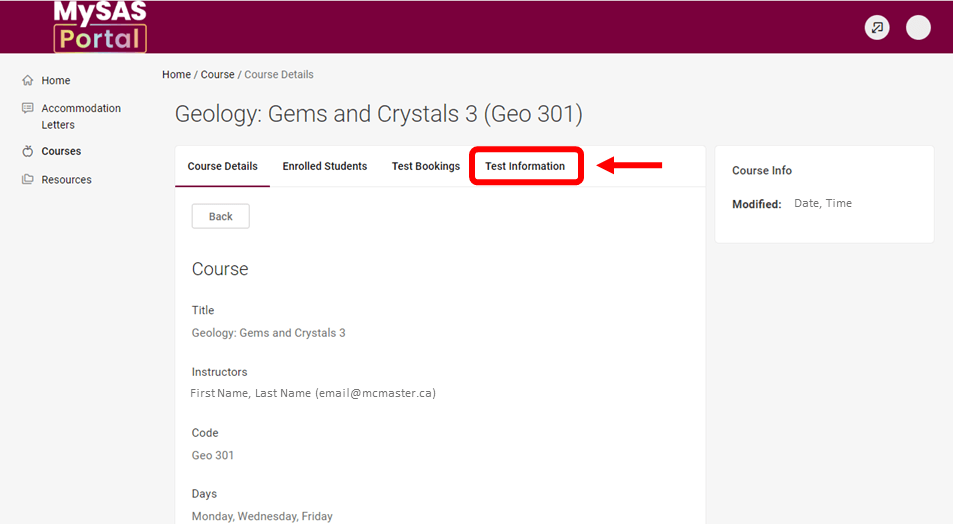
- Click the course title.
- There are four subtitles under the course title: “Course Details,” “Enrolled Students,” “Test Bookings” and “Test Information.” Click “Test Information.”
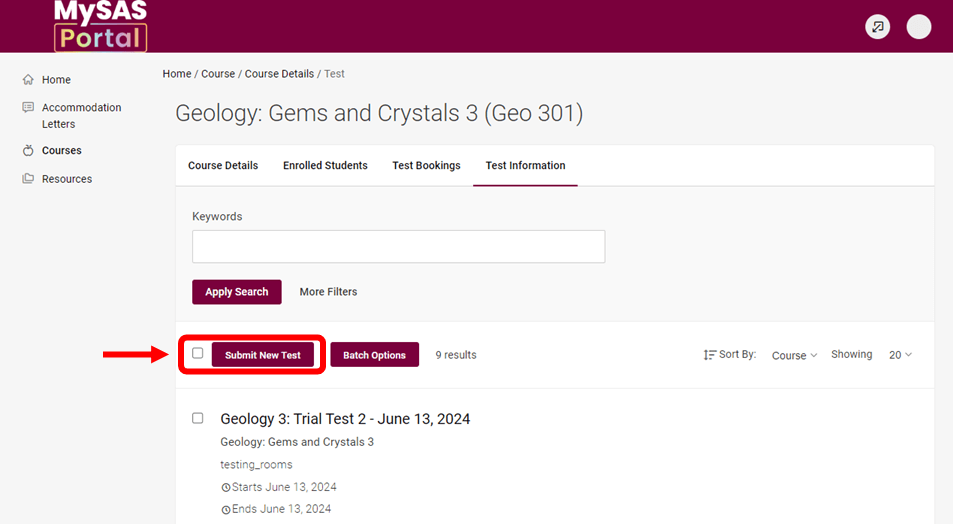
- Click “Submit New Test.”
- Follow the form instructions.
- Format the test title as “COURSE-TEST NUMBER-DATE & TIME.”
- Example. ENG 1P13 – Midterm 1 – Oct. 9 @ 1:30 PM
- Select the test date within the calendar. Please ensure the start date and end date are the same.
- Select the test start time from the drop-down.
- Enter the base duration (minutes) of your test in the drop-down.
- If your test follows universal design for learning (UDL), enter the UDL duration (minutes) of your test in the drop-down.
- Indicate the alternate test date options for your test in the event a student cannot write at the original date and time.
- Indicate the alternative option(s) for your test in the event a student misses the test.
- Select if SAS needs to provide in-person testing support.
- Yes, SAS will provide in-person testing support.
- No, SAS only needs to provide the online test support. Then, skip to step 18.
- Click the format of the test.
- Upload the test files.
- Test file (Test copies must be submitted at least five days before the test.)
- Test resources for the class (i.e., crib sheet, formula sheet)
- Click “submit.”
We’ll receive the test information after you submit the form. You can view and edit the submitted test information in the test information tab.

Visual instructions: Click on the screenshots to expand.
Email Memory Aids/Formula Sheets to SAS
- If students have accommodations for memory aids and/or formula sheets, they must submit them to you for review at least five calendar days before the test/exam.
- After the review, please email the memory aid/formula sheet to sastests@mcmaster.ca at least three calendar days before the test/exam.
- We will then print and include the memory aid/formula sheet within the student’s testing materials.